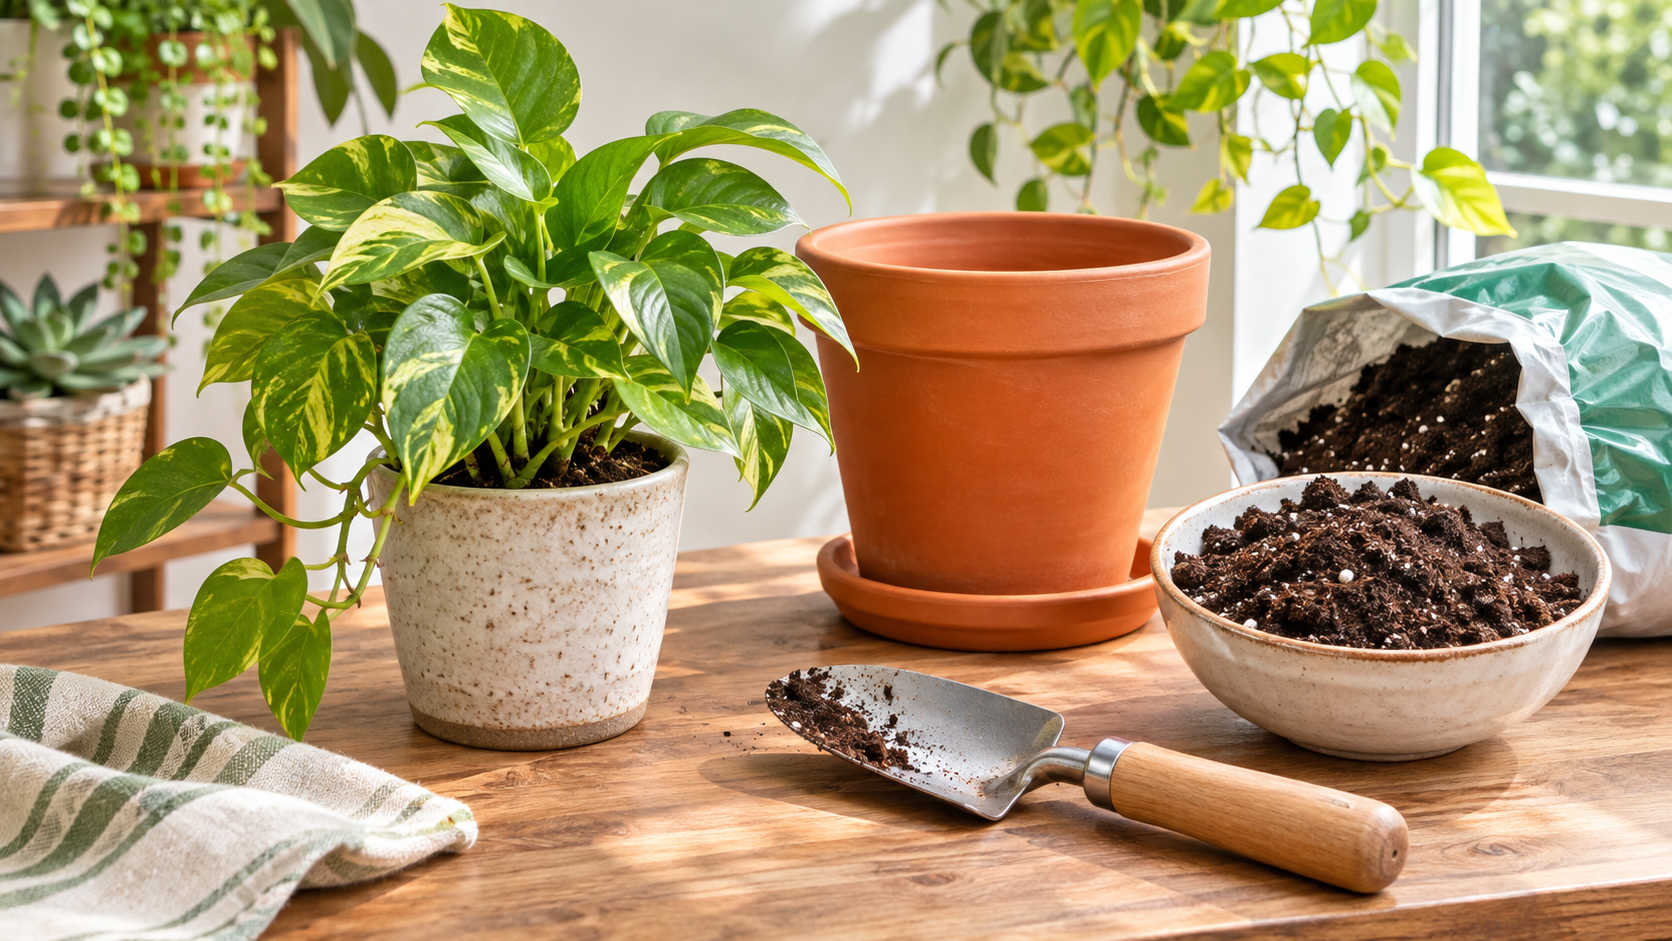
Repotting is one of the best things you can do to keep your houseplants growing robust, yet many novices put it off out of fear of endangering their plants. In actuality, repotting simply means moving your plant into a slightly larger pot with fresh potting mix so its roots have space to grow and receive nutrients appropriately.
When done at the right moment and with a delicate touch, repotting provides tired, root-bound plants a fresh boost of energy. This guide walks you through when to repot, how to choose the right container size, and the precise steps to follow without shocking your plant.
When done at the right moment and with a delicate touch, repotting provides tired, root-bound plants a fresh boost of energy. This guide walks you through when to repot, how to choose the right container size, and the precise steps to follow without shocking your plant.
5 Clear Signs Your Indoor Plant Needs Repotting
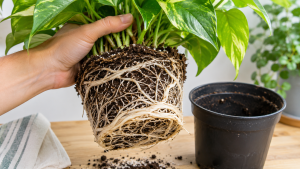
Most indoor plants only need repotting once every 12 to 24 months. Look for these clues that your plant has outgrown its current home:
-
- Roots growing out of the drainage holes: If white or tan roots are poking through the bottom of the pot, the root ball has run out of space.
- Roots circling tightly on the soil surface: Thick roots wrapping around the top of the soil or pushing the plant upward mean it is root-bound.
- Water runs straight through the pot: When roots take up almost all the space inside the pot, there is little soil left to hold moisture, so water drains out immediately.
- Soil dries out within a day or two: If a plant that normally stays damp for a week suddenly needs water every other day, its roots are likely packed too tightly.
- Slow or stalled growth during spring and summer: If your plant gets good light and water but stops producing new leaves during warm months, fresh soil and extra room can help.
When Is the Best Time to Repot?
The ideal time to repot houseplants is early spring through early summer. During these warmer, brighter months, plants enter their active growth phase and recover quickly from root handling.
Try to avoid repotting in late autumn or winter unless a plant is suffering from root rot, soggy soil, or pests. During cooler months, plants grow slowly and take much longer to settle into new soil.
How to Choose the Right New Pot
Picking the wrong pot size is a common beginner mistake. Follow these simple rules:
-
- Go up only 1 to 2 inches in diameter: If your plant is in a 6-inch pot, move it to a 7- or 8-inch pot. Jumping straight into a huge pot leaves too much empty soil around the roots, which holds excess water and causes root rot.
- Always choose a pot with drainage holes: Drainage holes allow extra water to escape freely. If you want to use a decorative pot without holes, keep your plant inside a plastic nursery pot with holes and set it inside the decorative cover pot.
- Pick the right material for your watering style:
-
- Terracotta or clay pots absorb moisture and dry out faster, making them great for Snake Plants, ZZ Plants, and heavy-handed waterers.
- Plastic or glazed ceramic pots hold moisture longer, which works well for Peace Lilies, Ferns, and Pothos.
-
Step-by-Step: How to Repot an Indoor Plant Safely
Step 1: Water Your Plant a Day Before
Give your plant a light watering 24 hours before repotting. Slightly moist soil holds together better around the roots and slides out of the old pot much more easily than bone-dry dirt.
Step 2: Prepare the New Pot
Place a small piece of mesh screen, a coffee filter, or a broken piece of terracotta over the drainage hole to keep soil from washing out while still letting water drain freely. Add a 1- to 2-inch layer of fresh indoor potting mix at the bottom of the new pot.
Step 3: Remove the Plant Gently
Turn the old pot on its side, hold the base of the plant’s stems gently between your fingers, and tap or squeeze the sides of the pot to loosen the root ball. Never yank the plant straight up by its stems or leaves, as this can snap delicate roots.
Step 4: Inspect and Loosen the Roots
Look closely at the root ball:
-
- If the roots are tightly coiled in circles at the bottom, gently tease them apart with your fingers so they grow outward into the new soil.
- Trim off any dark, mushy, or foul-smelling roots using clean scissors.
- Shake away about a third of the old, spent potting mix without stripping the roots bare.
Step 5: Position and Fill With Fresh Soil
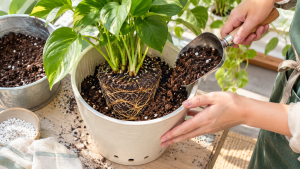
Set the plant in the center of the new pot so the top of the root ball sits about 1 inch below the pot rim (this gap makes watering easy without overflowing). Fill the sides with fresh potting mix, pressing down lightly with your fingertips to remove large air pockets—do not pack the soil down hard.
Step 6: Water Thoroughly and Let It Rest
Water the newly potted plant slowly until water drains out the bottom holes. This settles the fresh soil snugly around the roots. Place the plant back in a spot with gentle, indirect light—avoid harsh direct sun or fertilizer for the next 3 to 4 weeks while the roots adjust.
What to Expect After Repotting
It is completely normal for a plant to look slightly droopy for a few days after repotting. Keep the soil lightly moist (never soggy), hold off on feeding fertilizer for a month, and give your plant quiet time to settle. Within a few weeks, you should see fresh, healthy new leaves emerging.
Final Thoughts
Repotting does not need to be messy or stressful. By choosing a pot just 1 to 2 inches wider, using fresh well-draining potting mix, and handling roots gently, you give your indoor plants the room and nutrition they need to thrive for years.